


Ingredients
Method
Cake
- Measure out all of your ingredients, and preheat your oven to 350°F
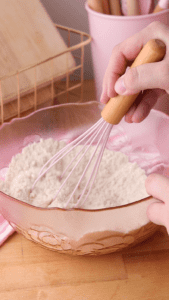
- In a mixing bowl whisk together the flour, almond flour, baking powder, and salt.
- In the bowl of a stand mixer fitted with the paddle attachment, add in the granulated sugar, first quantity of unsalted butter, and the first quantity of vanilla and almond extract. Cream together until light and fluffy.
- Add the eggs into the butter mixture, and mix until combined.
- Stir in the flour mixture, then slowly drizzle in the milk with the mixer still running on low. Stop the mixer to scrape down the sides of the bowl with a spatula to ensure all of the ingredients are incorporated well.
- Divide the cake batter into 3 prepared 6 inch round pans. I prepare my pans by spraying with nonstick spray and placing parchment paper on the bottom of each pan.
- Bake at 350°F for 25-30 minutes (until an inserted toothpick comes out clean) then let the cakes cool completely before frosting them.
Frosting
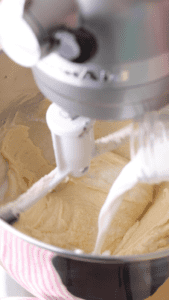
- Add all of the frosting ingredients except for the heavy cream to the bowl of a stand mixer fitted with the paddle attachment, and combine on low.
- Once ingredients are combined, turn the speed up to medium and drizzle in the heavy cream. When the heavy cream is incorporated, crank the speed up to medium-high until light and fluffy.
Assembly
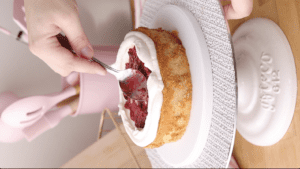
- Place the first layer of cake onto the cake board and add your first layer of frosting. If you want to use a fruit filling like I did here (I used raspberry jam), make sure to pipe a "lip" around the edge of the cake to help hold in the jam.
- Place the second layer of cake on top of the frosting/filling and repeat the previous step.
- Once you place the third and final cake layer, use your frosting to "crumb coat" the cake. This is simply a light layer of frosting to capture the crumbs and prevent them from mixing with your outer/final layer of frosting. Chill the crumb coated cake for 30 minutes before decorating.
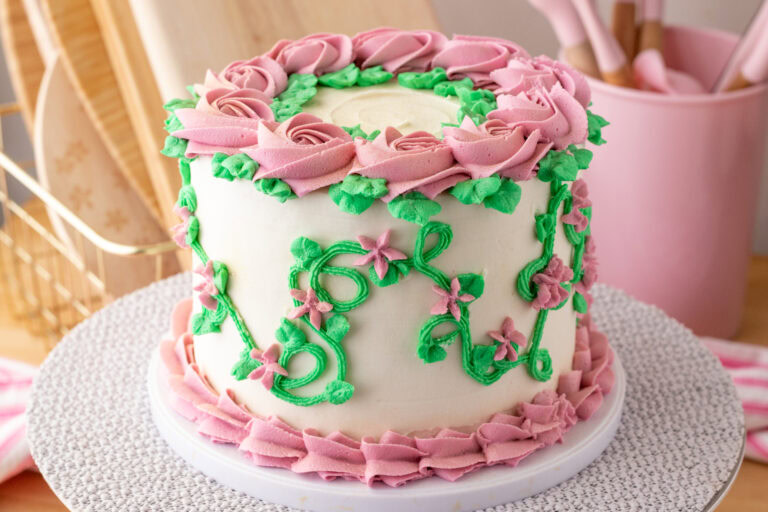
- Apply your outer layer of icing and decorate your cake as desired. I opted for some cute rosettes and flowers for this cake!


